Final Garment: Technical Process
- Elfy

- May 24, 2021
- 3 min read
Part 1: Toiling
After deciding on a design, the next step was to dissect the look into its parts to get an idea of what the flat pattern pieces would look like.
Although in this initial design I thought about making the undergarment a dress, I decided against that later.

I started working on the top first by tracing the rough pattern for a jumper I liked the fit of, and since I would be the one wearing it anyway, it made sense to fit it to me.
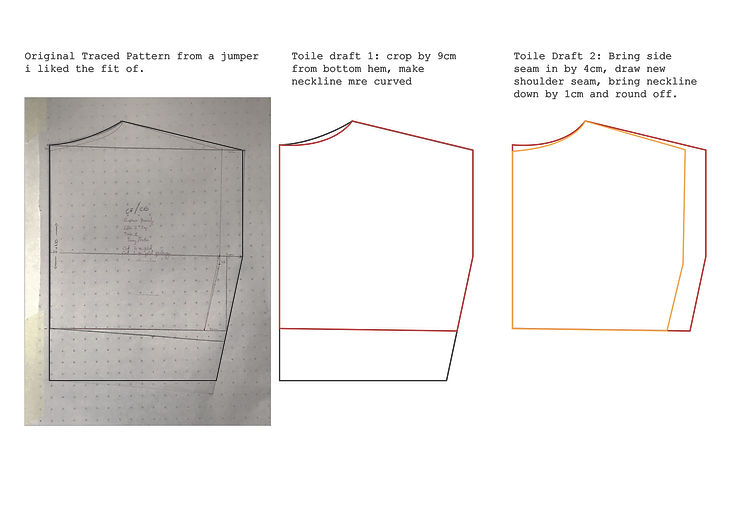
Originally, I took up the hem by 9cm and made the neckline slightly deeper.
To make the undersleeves that are meant to be tighter I used the stretch women's sleeve block and slashed it so I could reposition the seam to be on top. I also removed the curved head to make it fit into the boxy bodice.
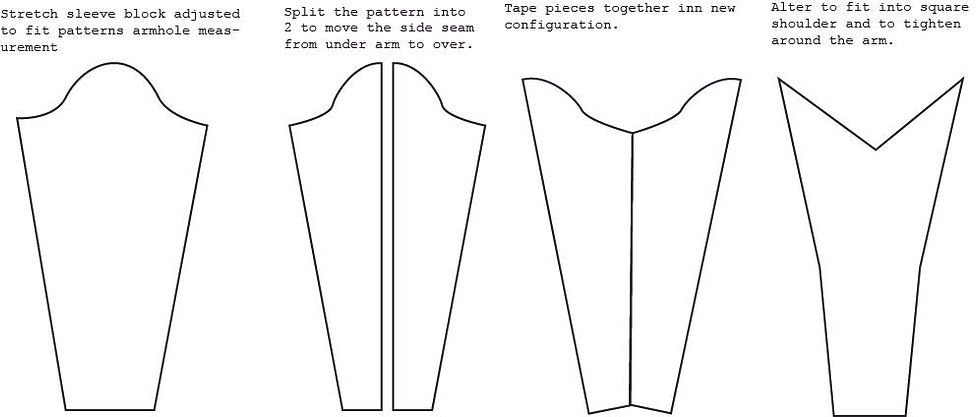
For the first toile, I made a simple version of the rounded sleeves and I had my pattern.
I cut as follows:
CF/CB: Cut 4 on the fold. Cut 2 on fold quilting
Stretch Sleeve: Cut 2 on fold making sure stretch is width ways.
Puff Sleeves: Cut 4 on the fold. Cut 4 on fold quilting.


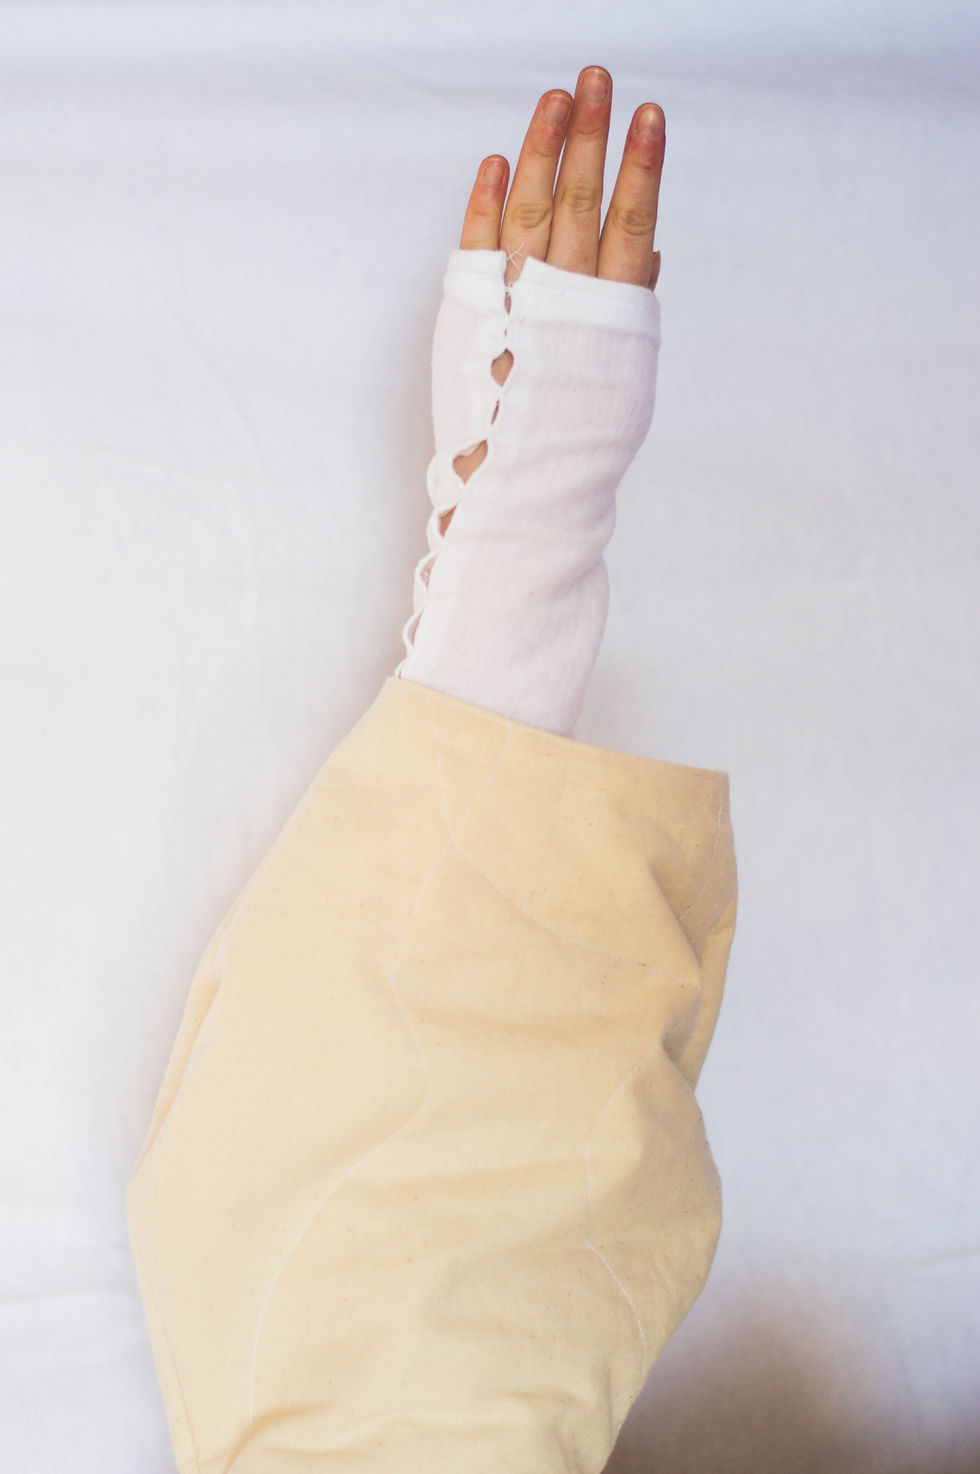
Toile 1.
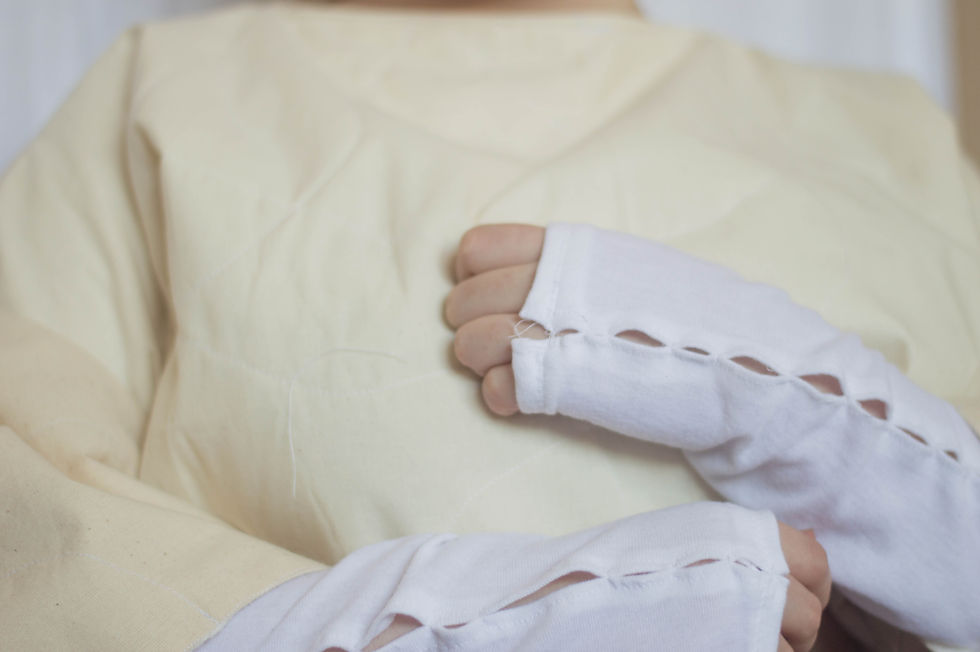
There were a number of problems with the first toile:
- The bodice was far too wide, I took in 4 cm on my pattern from the side seam and armhole.
- The stretch sleeves were too loose, I ended up taking the sleeve in at the elbow to accommodate for that narrower part of my arm, making the straight shape kinked.
- The puff sleeves were too flat when only being made of two sides, so I reshaped my pattern to a version of the same shape that was slightly narrower at the top that I could need 4 panels of.
Toile 2

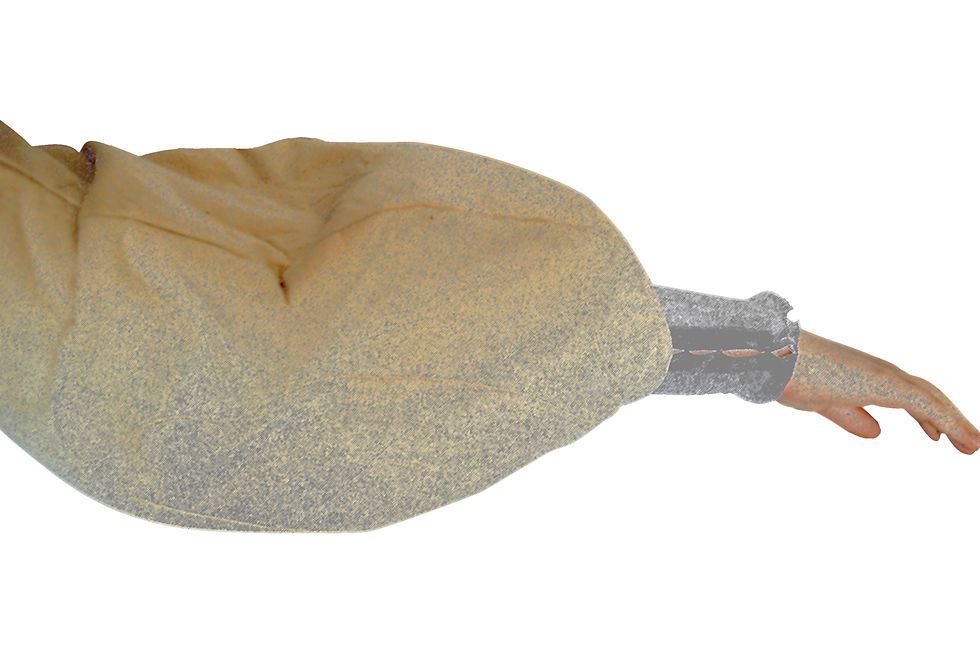
Testing my samples on the garment.

The final sleeve draft.
Part 2: Translating
Now that I had the pattern right it was time to make a tension swatch for the lining layer of the garment.
This layer would be a plain knit on tension 8 using 2/9 lambswool yarn from JC Rennie, so I made my swatch according to those parameters and washed it with my usual washing method:
first-round: warm water and dish soap with some hand scouring.
Second-round: warm water with delicates wash soap, let sit for 20 mins.
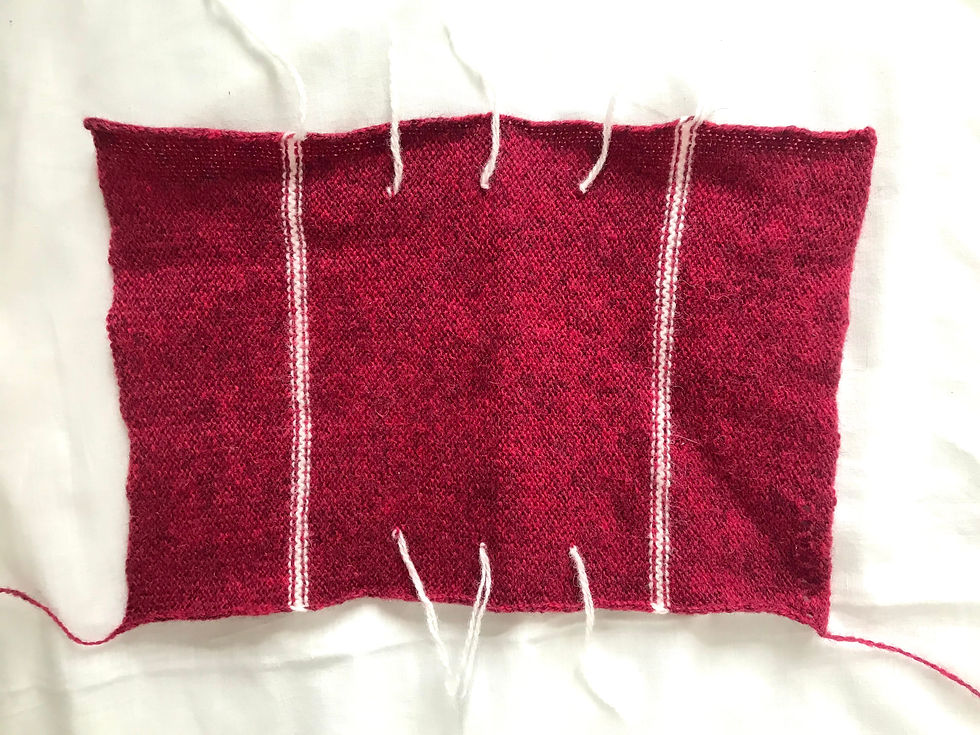
I was able to determine my measurements of:
40 stitches per 15cm-------- 2.675 stitches per cm
60 rows per 14.5 cm--------- 4.23 rows per cm
(I kept them as decimals for the calculations and rounded them up at the end.)
From there I could work out my knitting pattern through the measurements of the toile pattern. I worked on a half pattern basis at first because it would just be mirrored to create a full panel.

For the neckline, I made a more basic shape by casting off 10 stitches on the LHS/ middle, then casting off 1 every row on the LHS and 2 every row on the RHS to shape the shoulder and neck simultaneously.
For the Sleeves, I had to work out how to do circular and U-style knitting on my domestic ribber machine by consulting the manual workbook. I used the same tension swatch for the sleeves as it would be the same knit at the same tension, just making it circular means it has double the number of rows.

I sampled this, however, I forgot to double the rows the first time, so I doubled the rows and made my sleeves.
Original circular knit sleeve sample

Part 3: Making
Step by step:
knit up circular sleeves.
cut off the waste yarn and crochet cast-off edges.
knit up CF and Cb.
join side and shoulder seams.
join arms to armholes.
darn over seams.
wash and dry the full garment.
knit up large panels of patterned knit, alternatively use old samples, or reuse old garments.
wash and felt the panels you will be cutting.
cut apart panels into small abstract shapes.
start to form an outer layer on top of the base garment.
mattrass stitch the hem of the lining to the outer layer.
darn with gold thread over the weakest spots.


Comments